

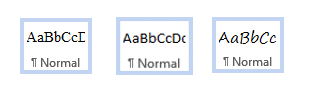
Distinguishing Between Formatting and Styles
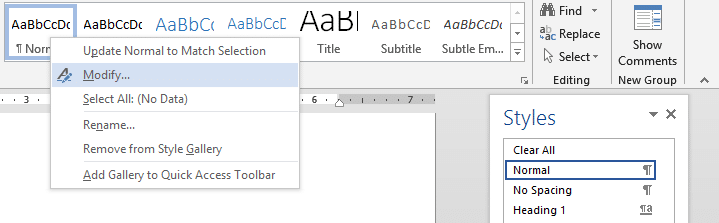
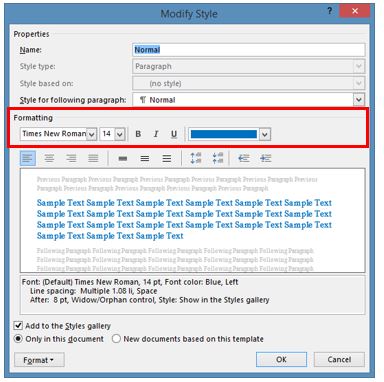
Comparing Built-in Styles and Custom Styles

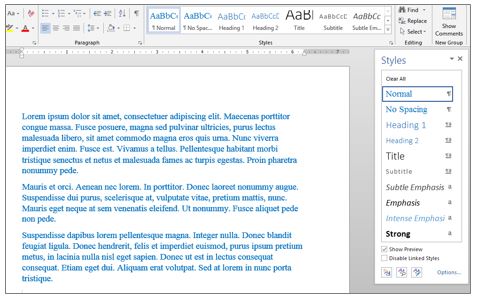
Limitations of Using Word’s Normal Style when Responding to RFPs
Expedience Software Joins Microsoft AI Cloud Partner Program to Deliver Copilot-Powered Proposal Automation in Microsoft Word
Partnership highlights the benefits of combining Microsoft Copilot with Word-native proposal automation to accelerate RFP responses and improve complex proposal quality. Manchester NH, March 19th, 2026 — Expedience Software, a provider of proposal automation solutions...
Expedience Software Recognized as a Representative Vendor in the 2025 Gartner® Market Guide for RFP Response Management Applications
MANCHESTER, NH — March 4, 2026 — Expedience Software, a leading provider of proposal automation technology, today announced its featured inclusion Gartner's recent proposal software market report, Market Guide for RFP Response Management Applications. Expedience...
Expedience Software Highlights the Unique Roles of Proposal Automation Software and AI in Proposal Creation
MANCHESTER, N.H. – June 18, 2025 – As businesses refine their approach to RFP response and proposal automation, understanding the distinct yet complementary roles of traditional proposal content libraries and AI-driven tools has never been more crucial. Both...
Expedience Software Introduces Expert Proposal Prompt Engineering with the CRAFT Method
MANCHESTER, N.H. – May 8, 2025 – Expedience Software Introduces Expert Proposal Prompt Engineering with the CRAFT Method Expedience Software unveils a cutting-edge approach to proposal writing by leveraging the power of prompt engineering. This innovative technique...
Expedience Software Showcases Custom Copilot Agents for Your Business Proposal Needs
MANCHESTER, N.H. – April 28, 2025 - Expedience Software Showcases Custom Copilot Agents for Your Business Proposal Needs Expedience Software reports the latest in AI Innovation: Custom Copilot Agents. This advanced AI technology is specifically designed to meet the...