
Another option is to save the template outside of the Start-up folder and install the template just when we need to. In this post we will record a couple macros to install and uninstall our custom template.
Note that we describe this as ‘installing’ the template not ‘opening’ it. You can open the template directly whenever you want to make changes to the macros or shortcuts.
But you don’t have to open it to use the macros and shortcut. Instead, you can ‘install’ the template which makes it’s macros and shortcuts available to all the documents you open and create.
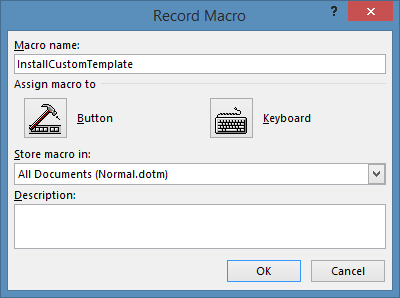
First, let’s start the ‘Macro Recorder.’ Lets name the macro ‘InstallCustomTemplate’:
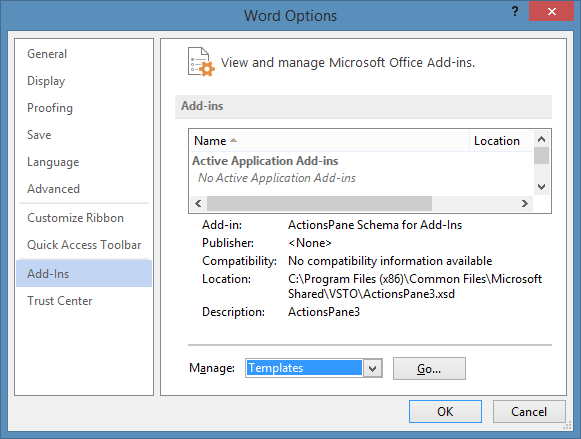
Go to File/Options/Addins. Select ‘Templates’ from the ‘Manage’ drop-down and click the ‘Go’ button.
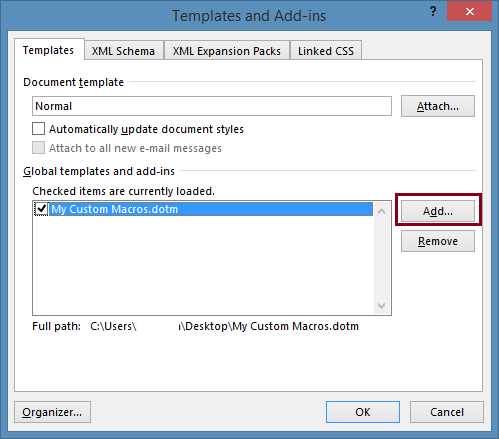
Click ‘OK’ and stop the macro recorder. Here is the ‘InstallCustomTemplate’ macro:
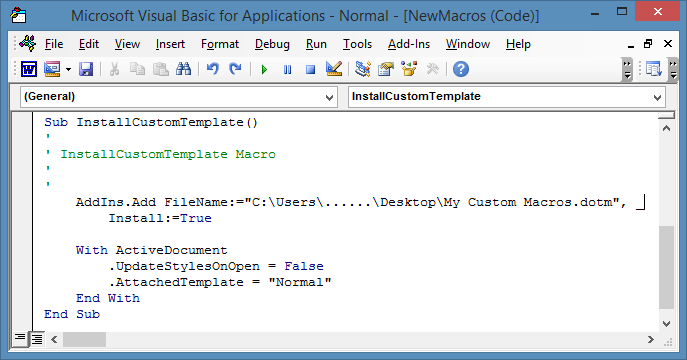
AddIns.Add FileName:=”… file path … My Custom Macros.dotm”, Install:=True
To create the ‘UninstallCustomTemplate’ start the Macro Recorder again and follow the same steps as above. When you get to the templates dialog box, simply uncheck the box for ‘My Custom Macros.dotm.”
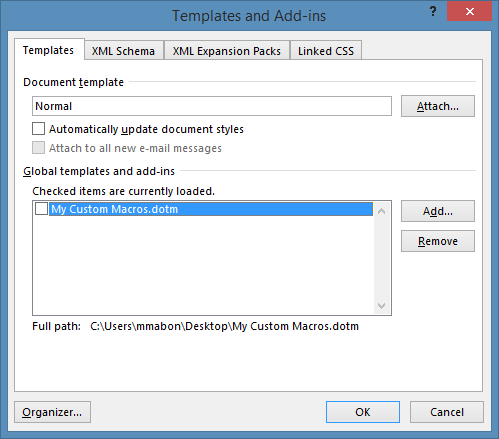
Here is the recorded macro:
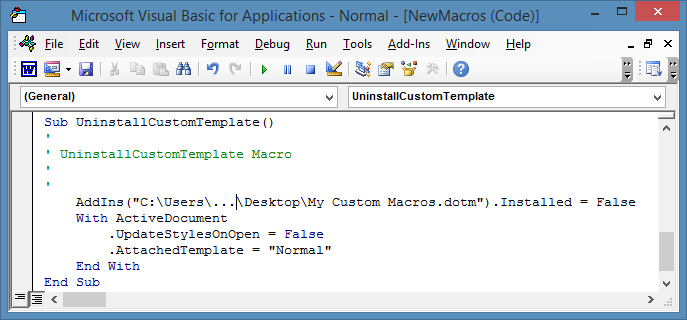
Here is the line of code:
AddIns(“… file path … My Custom Macros.dotm”).Installed = False
You can now create shortcut keys or quick access buttons if you choose. See the post on creating shortcuts for more information.


